


Recently, Digital Ocean announced they're entering the PaaS market with their new application platform. They've hosted virtual machines (droplets) and Kubernetes based services for years, but now they're creating a platform that's a simple point and click to get an application up and running.
So I decided to try it. In this tutorial, we're going to build an application on that platform. I will use Go to make a small web API and have it backed by a SQLite database. I'll show you the steps required, and we'll see just how easy it is (or isn't) to deploy applications on the platform.
We'll create a small service that:
- Takes a city name as input
- searches against a database
- Returns ZIP code and other information for that city
If you want to follow along with this tutorial, here's what you'll need:
- Computer with Go Installed
- A Digital Ocean Account
- DB Browser for SQL Lite
- Download this CSV
Creating Your Repository
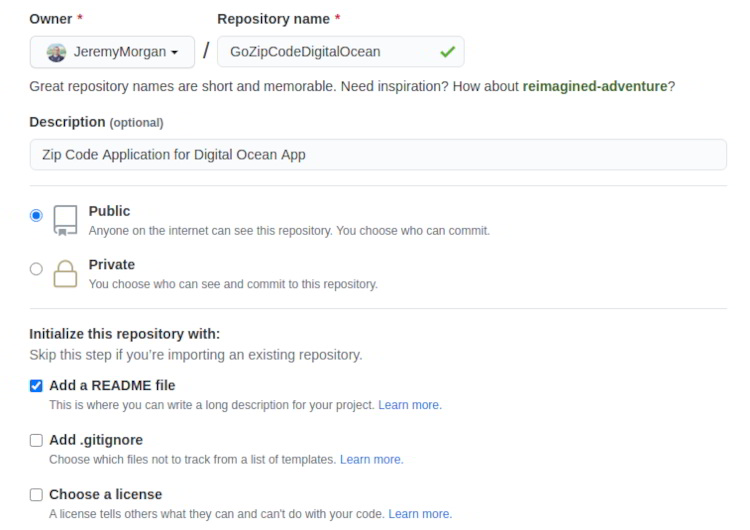
The first thing we'll need to do is create a repository on GitHub. The Digital Ocean app platform uses your repos to pull code from and builds from there.
Now, clone the Digital Ocean sample repository to another folder:
git clone https://github.com/digitalocean/sample-golang.git
Now, you can fork this. However, since we're not going to be contributing changes back to that repo, and we don't want to pull changes from it, it's essentially a new project. So I'm just going to copy the files from that repo into mine.
git clone https://github.com/JeremyMorgan/GoZipCodeDigitalOcean.git
cp -r /sample-golang/* /GoZipCodeDigitalOcean
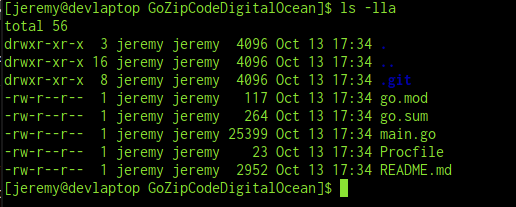
Now I have the sample code in my own repo:
Cool, now let's push it up to Github.
git add .
git commmit -m "Initial Commit"
git push origin main
Now the sample project is available on my Github, where I can connect to it.
Setting up a Digital Ocean Application
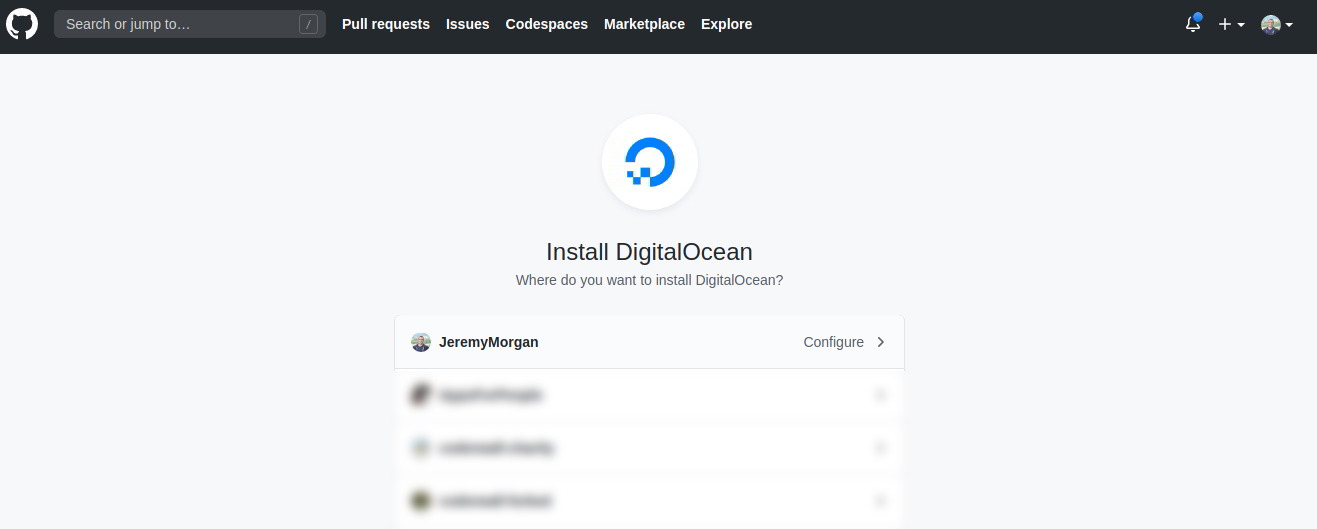
Go to cloud.digitalocean.com/apps
And click "Launch Your App"
Next, you'll connect your Github to Digital Ocean.
You can give it permission to all of your repositories, or just certain ones (recommended).
Next, create your application and the branch you want to deploy from. I'm selecting "main" in my case.
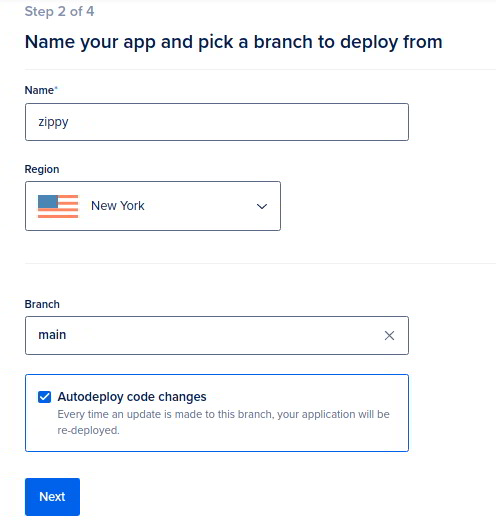
You can choose whether to automatically deploy code changes here. Click next.
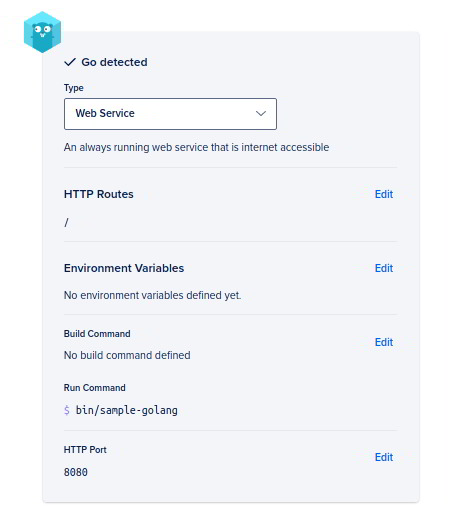
In the next screen, you can configure some things. Make sure Go is detected and set it up as a web service.
You can add a database here, but we'll skip that and click next.
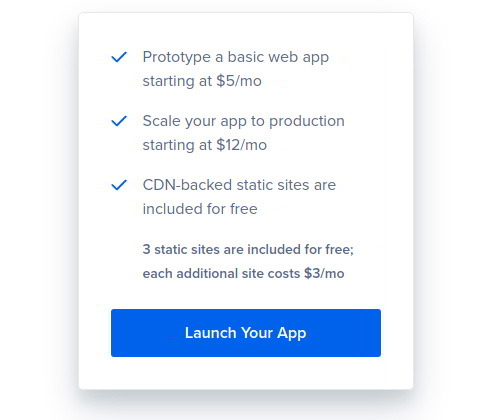
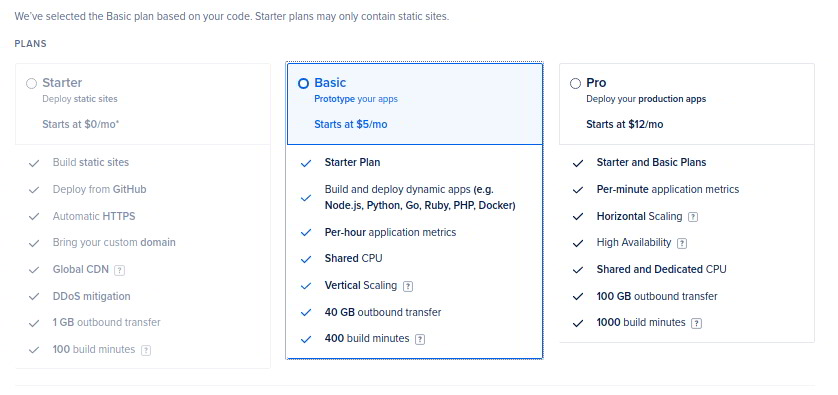
Then you'll select a plan. Static sites are free but Go services are not, so I chose the $5 plan here. It's sufficient for proof of concept and development sites.
Once you click next, your site will start deploying automatically.
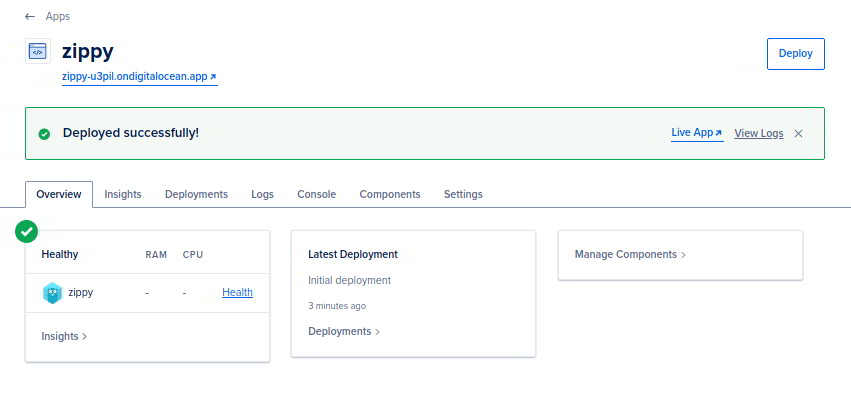
And we're up! Let's test it out.
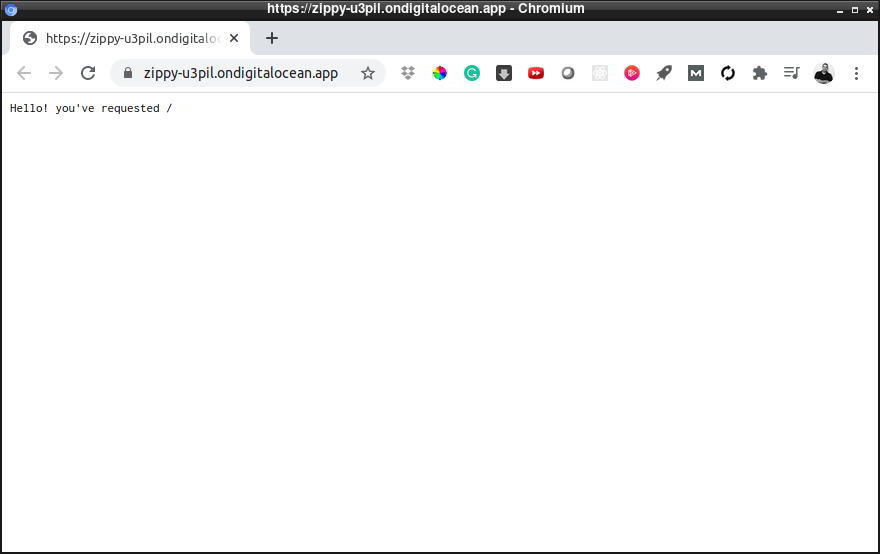
Testing out the Demo Site
Now our demo site is up and running, but it isn't much to look at:
You can use something like Postman to test out your routes:
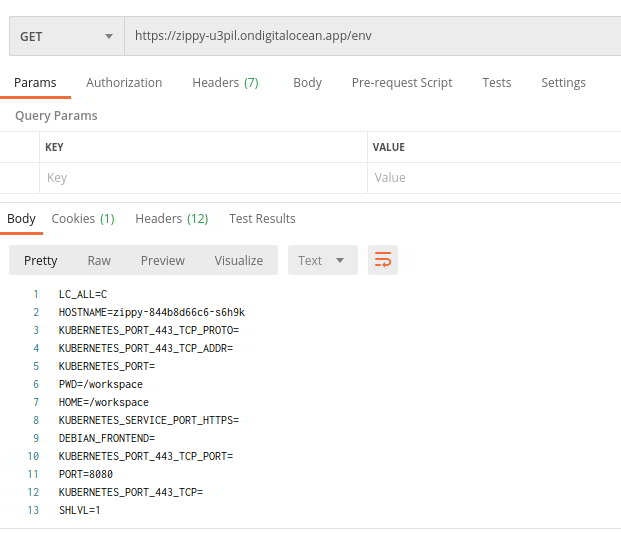
The routes in the sample application are:
- /
- /cached
- /headers
- /env
- /status
Ok, so we're good to go. Let's turn this into a real app.
Creating a New Method
First off, we'll create a new method to add to our application. It will add a new route, "/zip" to look up the ZIP code and other information about the city. Our URL will look Like
https://(ourURL)/zip?city="(city we're searching for)"
So, we'll create a new method:
http.HandleFunc("/zip", func(w http.ResponseWriter, r *http.Request) {
}
We'll flesh this out later in the tutorial.
Building the Database
This application will get a city name from a zip code. We're going to use a database to do this.
For this application, we're going to use a SQLite Database. I know, so cliche, but hey, they work great.
I'm going to create a database here that has zip codes and city information associated with it. I downloaded the personal version of this zipcode database (CSV) for this project.
The only thing I've done to is change the column titles:
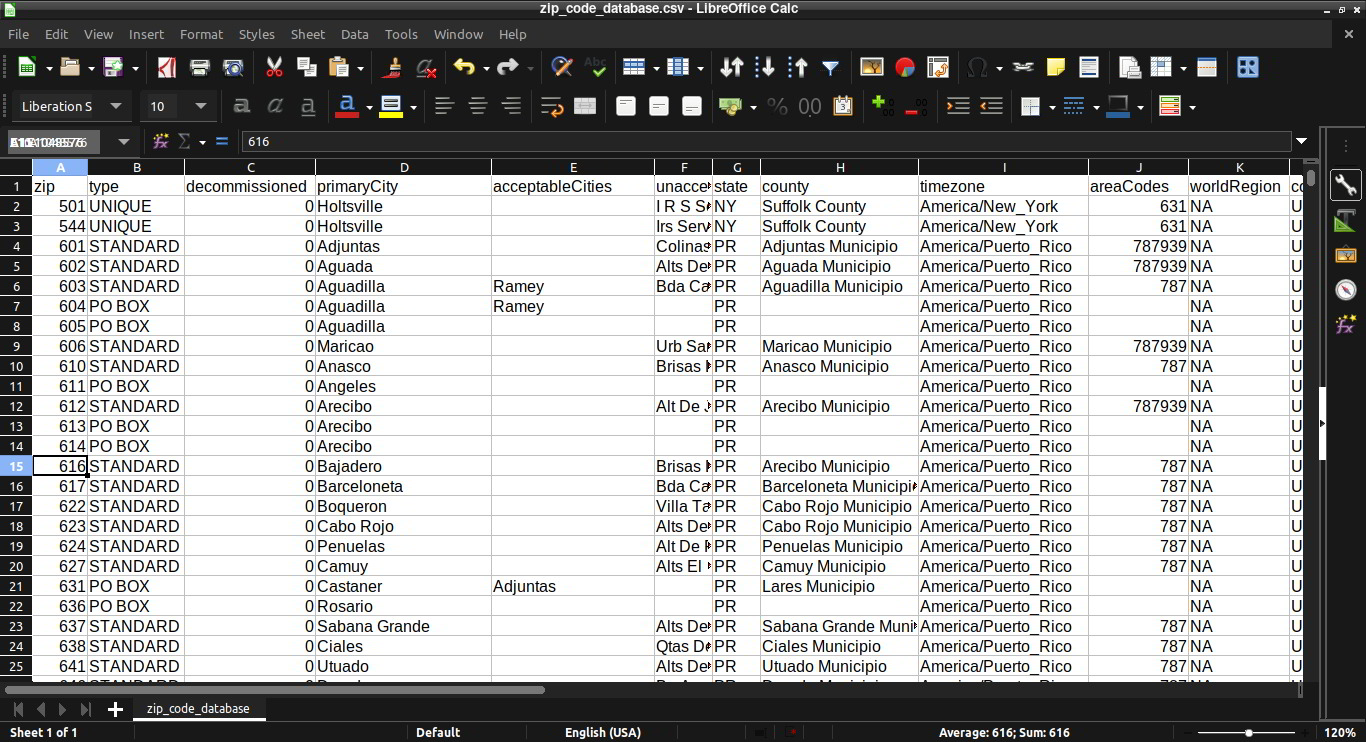
You can name them however you like.
Next, we'll use DB Browser for SQLite. You can run this in Windows, Mac, or Linux.
First, we'll create a new database:
And save it as zipcode.db.
Now we need to import our CSV into the new database.
Go to File -> Import -> Table from CSV File
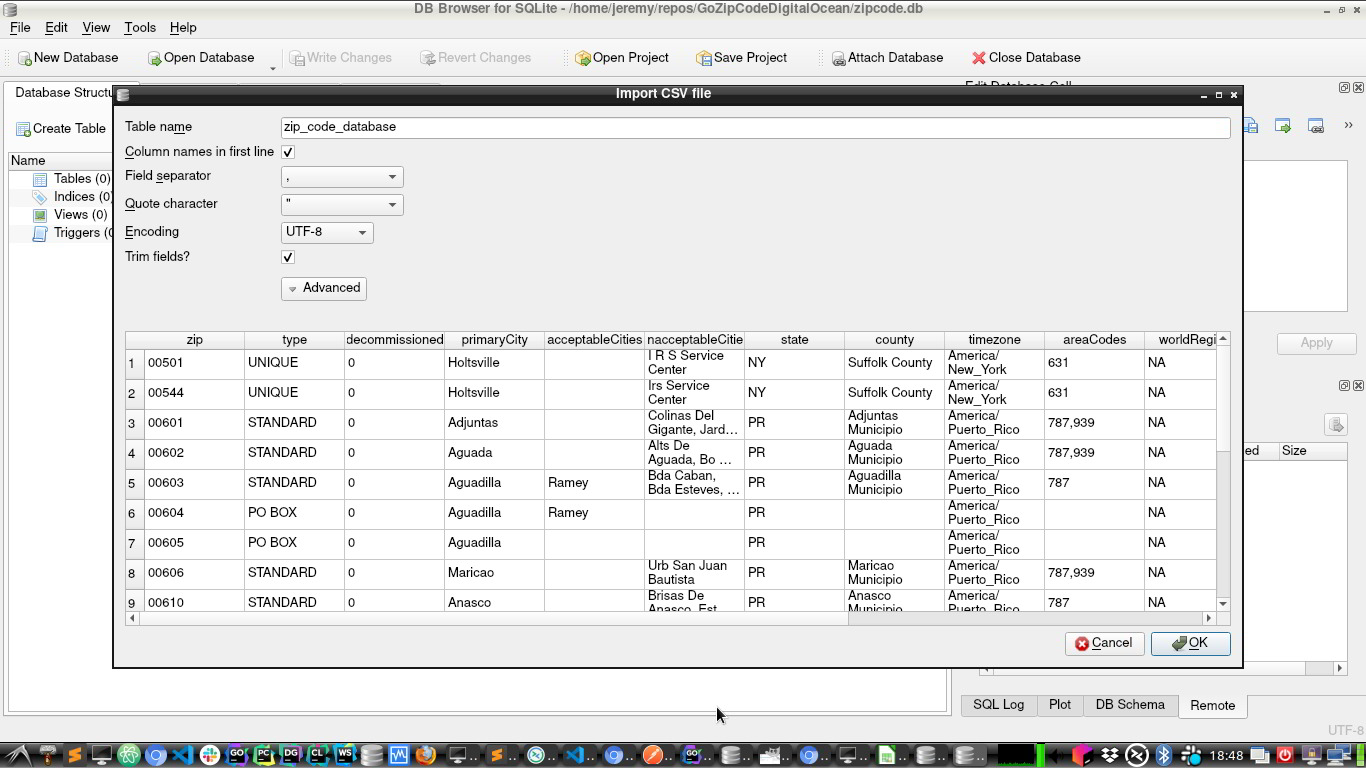
Make sure your separator and quotes are set, and you should see this:

Finish the import, and click on "Write Changes" to save the changes to the database.
Now we have our database.
Building Our Result
Ok, so now we have our database set up. Let's look at what our result should look like. I was going to return just the ZIP code for a city, but why not more information if we have it here?
Here is the information I've decided I want to return when you query a city. I will be outputting this into JSON.
Let's create a struct that looks like this:
type city struct {
    Zip        string `json:"zip"`
    City       string `json:"city"`
    State      string `json:"state"`
    County     string `json:"county"`
    Timezone   string `json:"timezone"`
    Latitude   string `json:"latitude"`
    Longitude  string `json:"longitude"`
    Population string `json:"population"`
}
Notice how in each of these, I've added:
`json:"zip"`
This notation enables you to specify what you'd like the JSON output name to look like. So we can make it all lowercase or even change the name entirely if we want.
This will be our output. Let's populate it!
Building Our ZIP Method
Keep in mind this is a demo/how to type application. Not something you'd use in production. We're going to build this method to encapsulate the "city to ZIP code" functionality. This method will:
- Accept a string input for a city name
- Connect to the SQLite db
- Run a query against it
- Gather the Results
- Stuff them into a collection
- Encode them in JSON
- Return it
If this seems like a lot for one method to do, you're right. In a real application, you'll want to separate some of these responsibilities, but this makes for a good starter project.
Imports
We'll need to bring in some packages for this to work. Add the following to your import statement:
"database/sql"
"encoding/json"
"log"
_ "github.com/mattn/go-sqlite3"
These are the packages we'll use to make our application work.
Variables
Add these two variable declarations to the top of the method:
// get the city from the URL
reqCity, ok := r.URL.Query()["city"]
// Collection of cities
var cities []city
The first variable, reqCity is the city we're looking for, and we'll get it from the URL.
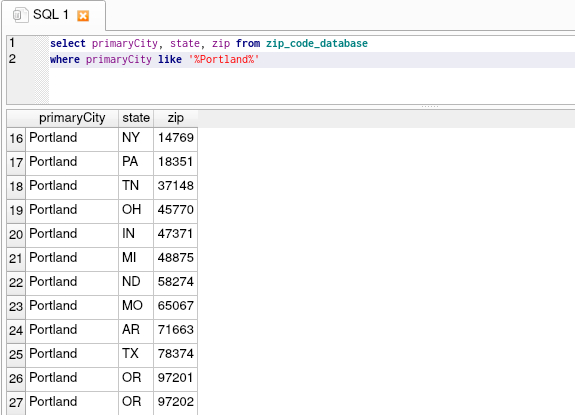
The next one, cities, is a collection of cities. This is because often there are several cities with the same name, and large ones have multiple ZIP codes:
So we'll store them in a collection and return it.
Connect to the Database
Next we want to connect to our SQLite database:
// open up database
db, err := sql.Open("sqlite3", "./zipcode.db")
if err != nil {
  log.Fatal(err)
}
defer db.Close()
This is a pretty straightforward connection. We're using a SQLite library to open zipcode.db. If it doesn't exist or there is a problem, we'll crash the program. We also want to defer the db.Close() so we close the connection when the method is completed.
Query the Database
Next, we'll run our query against the database. The first thing we want to do is strip the quotes from the string in our URL:
searchCity := strings.Trim(reqCity[0], "\"")
This isn't always required, but it's nice to clean it up. If you're going to make a real application with this, you'll want to do some additional checking/sanitization on this string. You'll also want to prepare your query, but that's outside the scope of this tutorial. For now, we'll just strip the quotes.
Next we'll run the query:
rows, err := db.Query("select zip, primaryCity, state, county, timezone, latitude, longitude, irsEstimatedPopulation2015 from zip_code_database where primaryCity like '%" + searchCity + "%' and type = 'STANDARD'")
if err != nil {
  log.Fatal(err)
}
Here we are running a select statement against the database and returning it into rows. This will allow us to work with the data once returned.
Let's defer the rows.Close() also:
defer rows.Close()
Sweet! Now we (hopefully) have some data we can work with.
Parsing the Result
Now we have a result set, let's use a for loop to parse it:
for rows.Next() {
            city := city{}
            err = rows.Scan(&city.Zip, &city.City, &city.State, &city.County, &city.Timezone, &city.Latitude, &city.Longitude, &city.Population)
            cities = append(cities, city)
            if err != nil {
                log.Fatal(err)
            }
        }
Here we are creating a new instance of the city struct and using rows.Scan to scan each row and extract elements to place into our struct. If there's an error with this, we'll crash the program.
Then we'll append each city we find into the cities collection. Ideally, we'll have some clean data.
We'll throw in a little error handling (again, just dumping the application)
err = rows.Err()
if err != nil {
  log.Fatal(err)
}
And we're good!
Packaging and Sending the Data
We're going to package this up and send it.
if ok && len(cities) > 0 {
  w.Header().Set("Content-Type", "application/json")
    json.NewEncoder(w).Encode(cities)
} else {
  w.WriteHeader(404)
}
Remember when we grabbed the value from the URL and returned it to ok? We're checking that now. So if there was a requested city, and we got a result, we'll move forward.
We set the content type header to application/json, then encode our cities collection as JSON. And that's what will be returned.
If there is an error with our request or result, we'll just return a 404. Let's try it out!
Push the Application to Digital Ocean
To deploy this application to Digital Ocean, we just need to commit and push:
git add .
git commit -m "Creating our First Deploy"
git push origin main
And it will begin deployment.
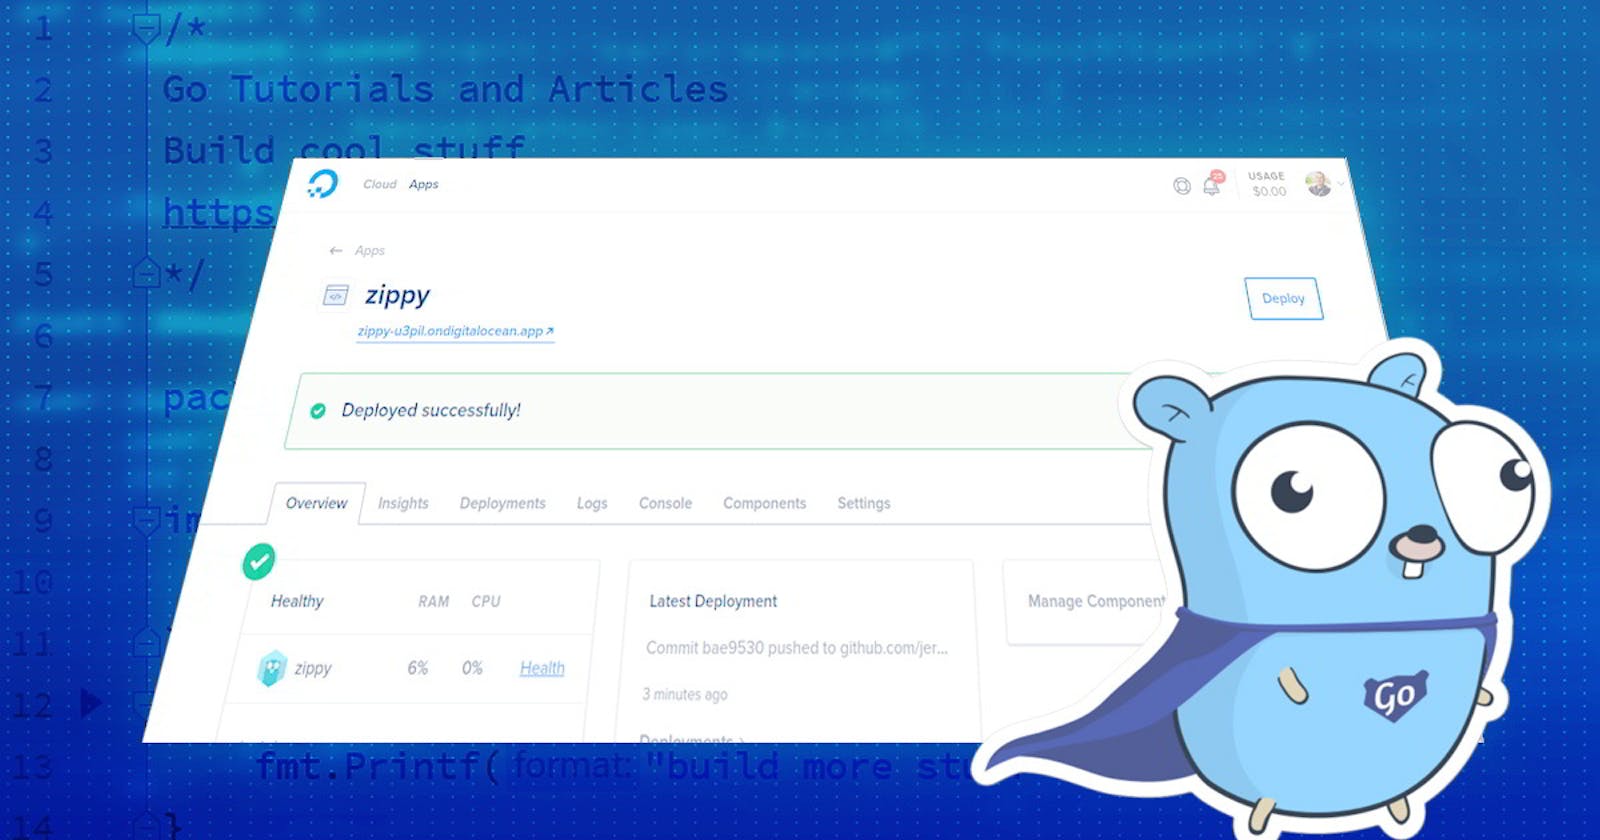
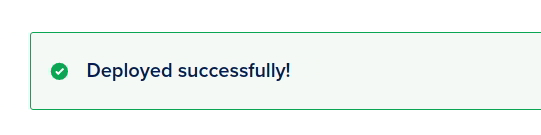
Once it builds (which hopefully it does), you'll see this:
The URL for your application will be shown. So let's do a quick check of it:
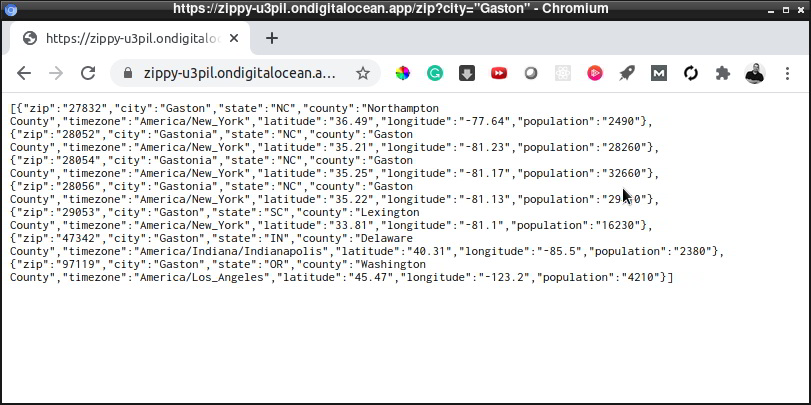
And it works! I put in my hometown (Gaston), and it returns my ZIP code, and other city information I've specified!
You can also use Postman to test this:

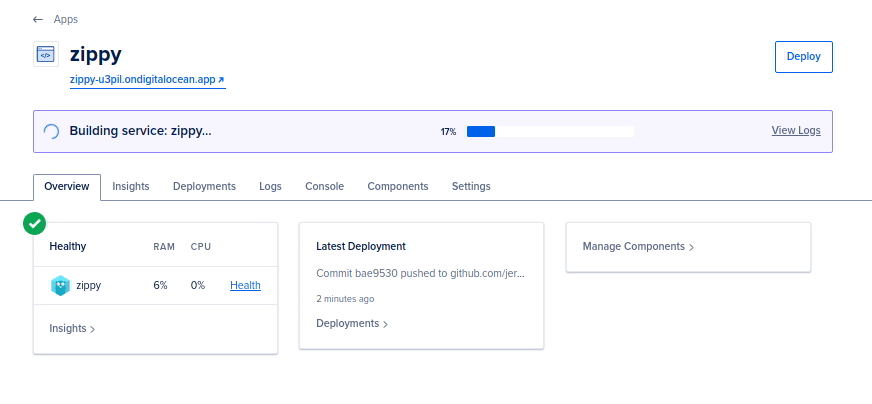
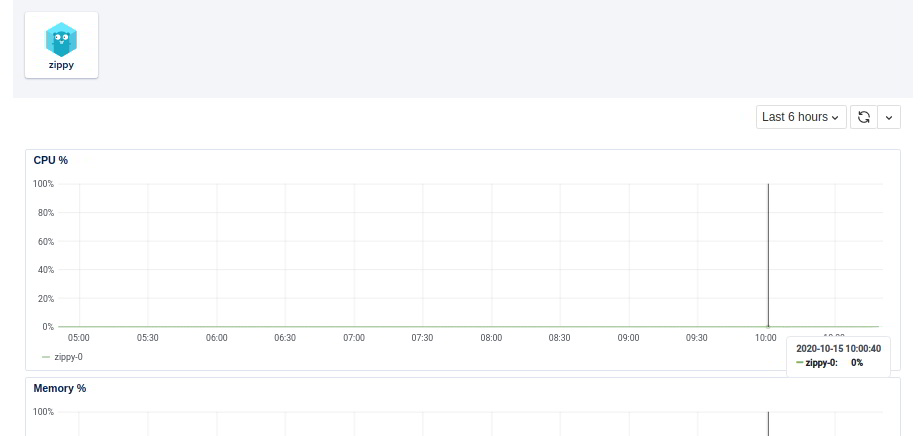
And it works! There are also some cool insights available if this were a real application:
My Thoughts on This Platform
So with this tutorial, we've learned how to build a simple Go web API application on Digital Ocean's new application platform. This was based on reading the docs for a few minutes, fiddling around a bit, and deploying it. I haven't done extensive testing of the platform yet, but this was so super easy.
What I've noticed so far:
- Easy to use
- No client software needed (just Git!)
- Point and click simplicity
- Ability to customize when you need to
Overall this platform has some great potential. So head on over to Digital Ocean and try it out. I think you'll like it!